
This article can be read here.


 |
| Favorite Things ATC--felting, steampunk, Amazing Mold Putty Terri Sproul Mixers, and Sizzix Dies--these are a few of MY favorite things! |
 |
| I began the construction of my ATC by die cutting from felt the ATC base, gears, hearts and other potential items that I might need in the construction of my ATC. |
 |
| I then also die cut foam core board to use for making my mold. |
 |
| I rolled out a large piece of putty after combining Part A and Part B. I pressed the foam core die cuts into the putty and went over them with my brayer pushing putty to enable an even pour of resin. |
 |
| The completed molds looked like this. They were perfect for pouring the white Amazing Casting Resin. I also practiced with some Creative Paperclay that I will use for a future project. These steampunky molds will get quite the workout! |
 |
| I added the felt components to the felt ATC base by needle felting them. |
 |
| Prior to pouring the casting resin, I dusted my molds with bronze Metallic Powder by Allumilite. It provide this matte finish to my resin gears. |
 |
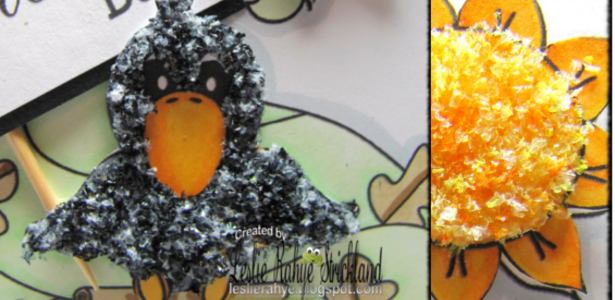
| I coated my gear for my project with Sakura Hobby Crafts 3D Crysral Lacquer mixed with the Allumilite Metallic Powder to give it a sheen. I then also for the heart sprinkled Terri Sproul's Mixers Glitz Effects--which are small Vintage Glass Particles--think chunky glitter. AWESOME. |


 |
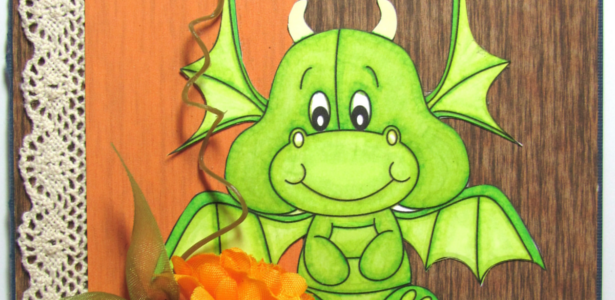
| Holly Jolly Reindeer |
 |
| Front of Birthday invite closed |
 |
| Birthday card opened and lying flat |
 |
| Card upright to see the special fold out |

 |
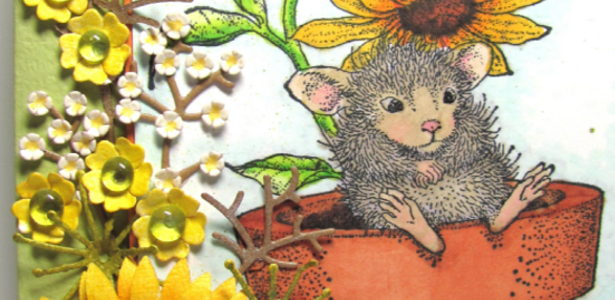
| Hero Card with Private Peter by Digital Delights by Louby Loo |
 |
| details |


