
Thursday, April 30, 2015
Thursday, April 23, 2015
Fairy Magic Tag with Rebecca Baer®
 |
| Fairy Magic |
Good Morning! Today I've created this wonderfully textured mixed media tag with Rebecca Baer® stencils, brushes and mediums! It reminds me of fairies with the swirls and glitz and glitter on the tag. I hope you enjoy my tutorial below!


I began with a manila folder tag the Enchanted Vines Small Stencil and Rebecca Baer's Clearly Elegant Stencil Gel. While you could use the stencil straight on, I turned it various directions to get the design in specific places for my tag. I wanted lots of texture on the right side as the left side would have burlap and corrugated board. I smeared my gel with the Flexi-Spreader to get a thin coverage on my stencil.

I put my tag aside to dry and tested out some pieces to put on the left. I used a strip of burlap paper and an ATC-sized corrugated rectangle for the left. The easiest way to get the top layer off of a piece of corrugated card board is to mist the top with water, let it set for a minuted and then pull off the top--it will come off in one piece!


With a turquoise and apple green acrylic paint and the RB Classique™ Angles brushes, I painted over the stencil gel and the tag, adding the green to the edges only. The triple well brush washer is awesome for providing you with clean water and a place to wash a messy brush. It will be perfect for my class this weekend where I need a water container to wash brushes as it collapses down to a single well for travelling!
Once the paint was dry, I rubbed on some brown distress ink to pop up some of the texture and define the edge of my tag. The "grommet" was also inked with the brown and glued into place.

I also added paint to the burlap and the corrugated board to tie the tag together. These were glued into place.


This fleur de lys stamp was first stamped with the same brown distress ink and then a second time with antique gold paint to get the final result below.


Final details included adding this label to the corrugated board [the rectangle was cut out and removed to accommodate the glass vial of glitter]. Rebecca Baer's Custom Brad Kit which was the perfect color and perfect canvas texture. White and black charcoal doodles were added to the edges and inside to accent the elements of the stencil and stamp. A spritz or two of Radiant Rains was added to the tag to give it a little more glitz and complete the magical feel.
All supplies mentioned are available at the link below! Thank you for stopping by! Be sure to check out posts from my teammates each Tuesday and Thursday!

Twitter at @leslierahye | Facebook at leslierahye.| YouTube at leslierahye | Pinterest at leslierahye | Instagram at leslierahye
Delightful Thursday | Little Bird greetings


Twitter at @leslierahye | Facebook at leslierahye.| YouTube at leslierahye | Pinterest at leslierahye | Instagram at leslierahye
Thursday, April 16, 2015
April Monthly Smeared Ink Blog Hop | Decorate an Egg

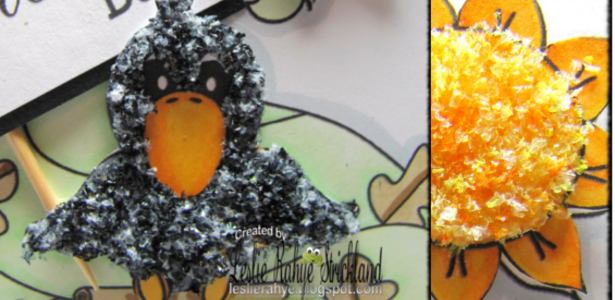
Good Morning Smeared and Smudged Family! Today I'm participating with the Smeared & Smudged members in a fun egg-themed blog hop! We had to STAMP on an egg! SO FUN! You know I love decorating eggs...with tangles or decoupage or paint! I pierced the top and bottom of the egg and blew it out so my art would last--one time people got upset when I boiled the eggs first, decorated them, photographed them and then cracked and peeled them for egg salad! sometimes art is temporary!
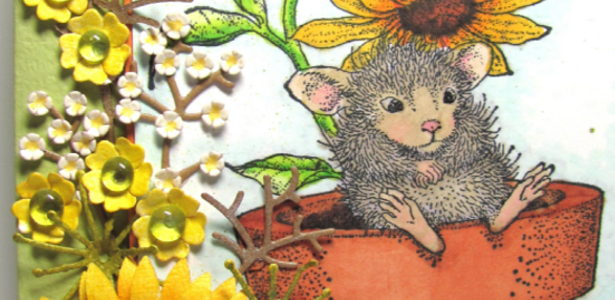
I began by using Radiant Rains from ColourArte and misting my egg to get this lovely pink and green background. [it looks more pink than green in the photos!] I set this aside to dry. The radiant rains have a LOT of sparkle! Next I stamped my new little bird on some tissue with Archival ink and then painted my bird with the yummy Twinkling H2Os from ColorArte! When he was dry I trimmed him out and with Beacon Quick Finish Decoupage I glued him onto the egg. Once dry I added small flowers from Cheery Lynns Tiny Flower set and added yellow Prills for the centers. I misted with the pearl Radiant Rain to finish off the egg!
I wish you could see it in real life...it's so sparkly!

Thank you for stopping by! I hope you enjoyed my project!
Be sure to hop to the rest of the Blog Hop Smeared Ink Family!

Wednesday, April 15, 2015
Thursday, April 9, 2015
The Season of Kindness Field Book

 |
| Omni Board Lace Tile |
 |
| Painted Digital Papers | Cafe |
Rebecca's Painted Digital Papers are gorgeous. I love this Cafe pack. The lighter papers are great to apply stenciling and stamping on top of and the darker colors are so rich and warm...just beautiful. I printed my papers to use for covering the Omni Board on regular weight bright white paper using an HP color laser printer. For the inside pocket pages I used a lightweight bright white card stock.
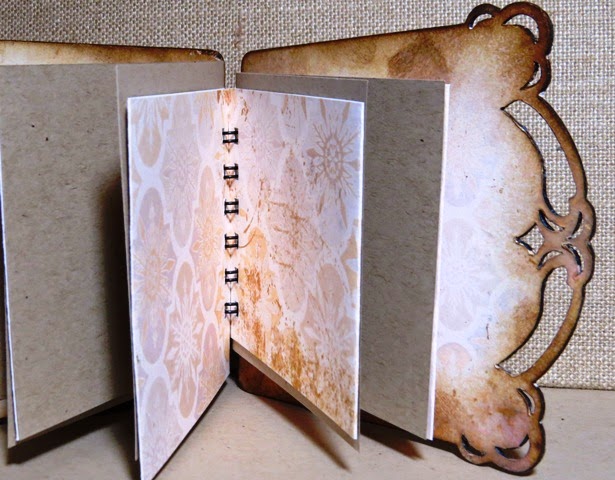

The Omni Board Lace tile comes with 2 pieces and some spacers. There is a square that can be popped up with the spacers on the front of the tile. I prepared the front with sanding and adhered light paper on top as above.
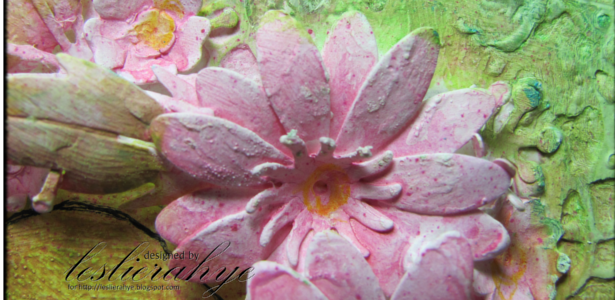
This time I used the beautiful two-part daisy stencils. The two-part stencil provides you with a silhouette of your image and a detail line of your image. This is great for the doodler in me. I could use just the silhouette and create my own doodles or use the detail stencil for the perfect line or highlights to the flowers. Before stenciling the silhouettes, I position my flowers and the stamp I want to use to see how they will fit on the front tile. When I'm happy with the arrangement I secure my 1st stencil with the RB Mini Masking Tape--I LOVE this little adhesive! It's small, thin and not too sticky. You don't have to worry about it pulling up your paper when you remove it. YAY!
 |
| Blooming Daisy Stencil | ST-502 |
 |
| Wild Daisy Stencil | ST-503 |
 |
| RB Mini Masking Tape |
 |
| RB Artiste™ Stenciler |
With the RB Artiste™ Stenciler I applied acrylic paint to the silhouette. This is a beautiful brush.
Our brushes produce exceptionally crisp lines down to the finest detail. This is possible due to our unique feather-touch tips that are pure natural bristle. Our RB Artiste™ Stenciler has a short, contoured wood handle with a satin finish that offers a velvety feel.I've used this brush with several applications now and find that its "feather-touch" is awesome with both ink and paint. I've used it for removing the delicate gilded bits when doing gilding with the adhesive. I need more of these in my life! It works perfectly with Rebecca Baer's detailed stencils.

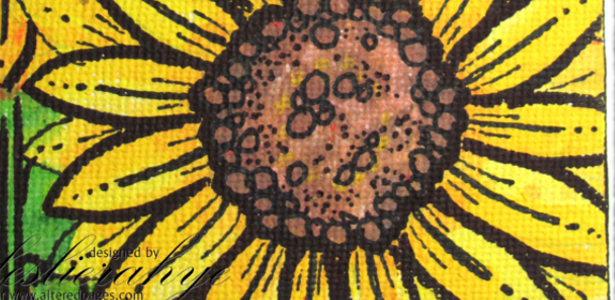
To complete my little book I added the sentiment stamp :Kindness is always in Season! I love these stamps. They are red rubber on foam cling and have beautiful crisp lines. You can use them with your acrylic blocks, or like I did on the video below use an acrylic ruler. I stamped the sentiment in brown which complimented my beautiful papers and stenciling perfectly.
 |
| Kindness In Season Stamp |
Twitter at @leslierahye | Facebook at leslierahye.| YouTube at leslierahye | Pinterest at leslierahye
Wednesday, April 1, 2015
Subscribe to:
Posts (Atom)


