
Welcome to Nicolette's 2-day Mom's Day Blog Hop! I am thrilled to be a part of this wonderful blog hop with nearly 30 talented crafters!! If you arrived here from Martha's blog you are in the right place! If you just happened to my blog in mid-hop and want to start from the top, Nicolette's blog is the starting point and can be found here.

For Mother's Day I wanted to make a special handmade gift for my Mommie who appreciates the handmade more than the store bought. I've had some little Dollar Tree boxes that I've had for years and I knew that I wanted to incorporate them into my Mother's Day gift. Magnetic closure wooden boxes, a little Ceramcoat Gleams, some remnant cheetah print plush fabric that my boss gave me and a lot of tangling went into this trinket box!
I began by painting a single coat of the Ceramcoat Gleams in gold on the box with a spongbrush. I love this paint because it allows the grains of the wood to show through with giving the box a seal so that the BIC Mark-It's wouldn't bleed when applied to the wood. And the paint gives the wood a nice golden glow.
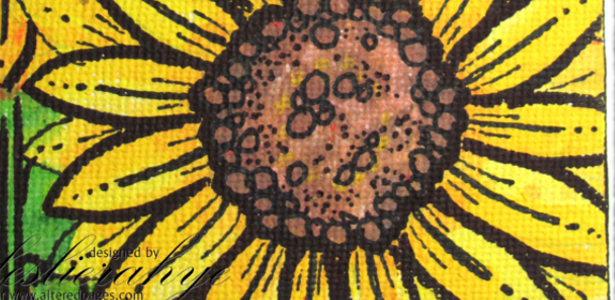
The sides of the box include some of my favorite tangles and some new-to-me ones that I enjoyed trying out on this fun box.
I hope you stop by tomorrow to see what I plan to put into the box for my Mommie for Mother's Day!

Thank you for stopping by. I hope you enjoyed your stop! I have a $15 gift certificate that I am giving away in honor of Nicolette's Mom's Day Blog Hop! It is to my FAVORITE papercraft store that just happens to be owned by my Mommie!!! Cutnpastememories.com carries the glue I used in this project as well as the tools I used to cut the fabric. They carry all of your papercrafting supplies and if there is something you need that you don't see in the store, the awesome news is that they will special order things in for you too!!!
To be in the random drawing for the gift certificate, become a follower and add your comment to this post or to tomorrow's post and you will be in the drawing!!! It's that simple! I hope you decide to play!
The next stop on the hop is Kathryn's blog.


For Mother's Day I wanted to make a special handmade gift for my Mommie who appreciates the handmade more than the store bought. I've had some little Dollar Tree boxes that I've had for years and I knew that I wanted to incorporate them into my Mother's Day gift. Magnetic closure wooden boxes, a little Ceramcoat Gleams, some remnant cheetah print plush fabric that my boss gave me and a lot of tangling went into this trinket box!
 |
| details of sides |
 |
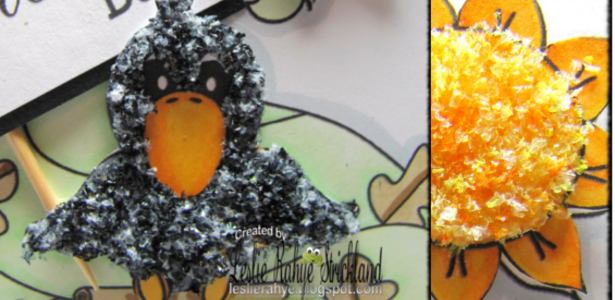
| detail of flowers on top with ladybug |
I lined the inside of the box with the plush cheetah fabric adheared with Beacon 3 in 1 Craft Glue--a favorite of mine for many applications including paper crafting or all sorts and wood and fabric crafts.
 |
| details of flowers on top with MOM. |
I have been completely absorbed with tangling flowers this spring and this project was no different. My Mommie loves flowers and I enjoyed covering the top of the box with a variety of stylized flowers. Little ladybugs sneak into the design and of course the word MOM popped in there for added enhancement.
The sides of the box include some of my favorite tangles and some new-to-me ones that I enjoyed trying out on this fun box.
I hope you stop by tomorrow to see what I plan to put into the box for my Mommie for Mother's Day!

To be in the random drawing for the gift certificate, become a follower and add your comment to this post or to tomorrow's post and you will be in the drawing!!! It's that simple! I hope you decide to play!
The next stop on the hop is Kathryn's blog.